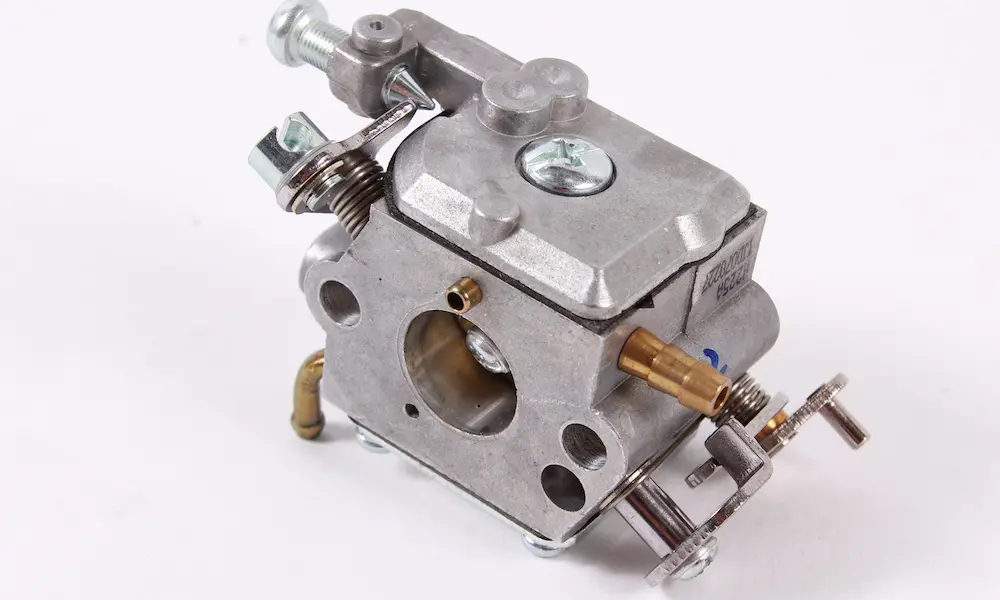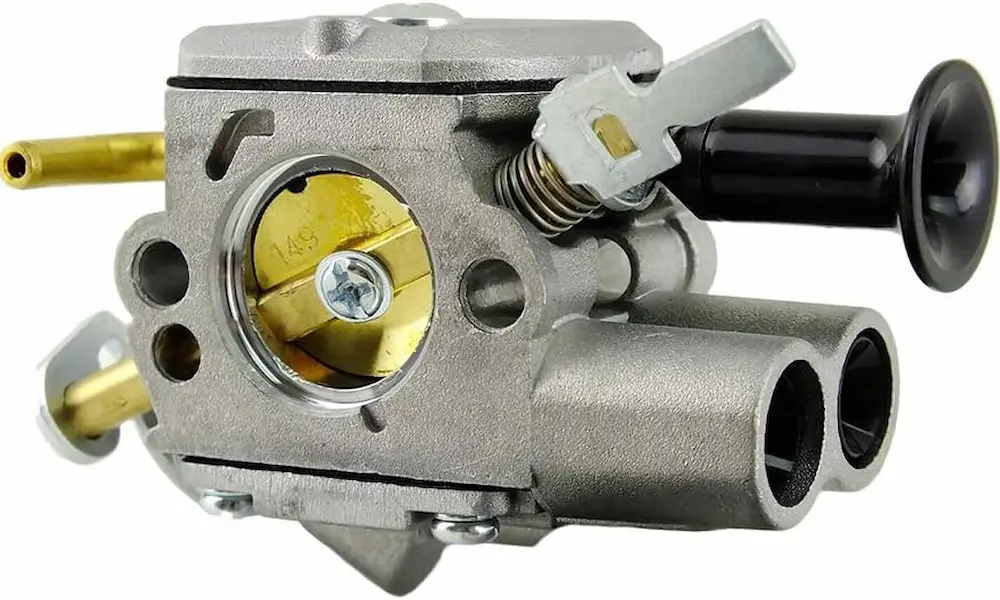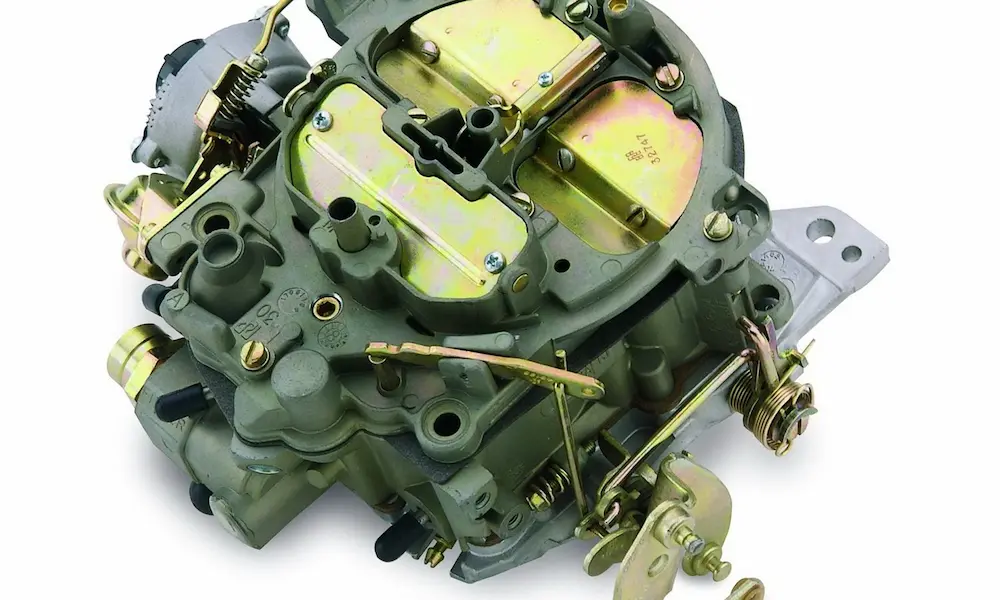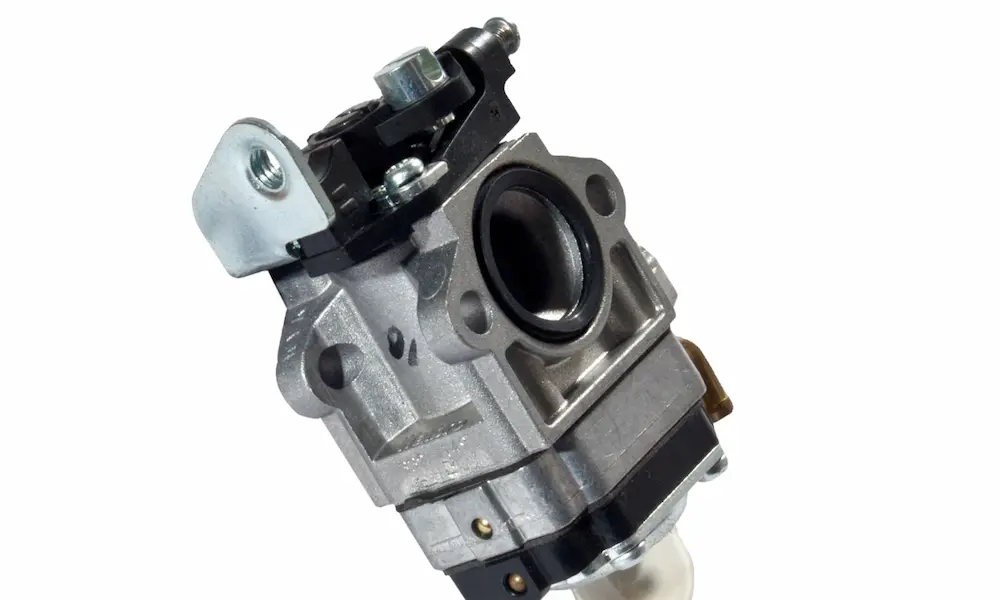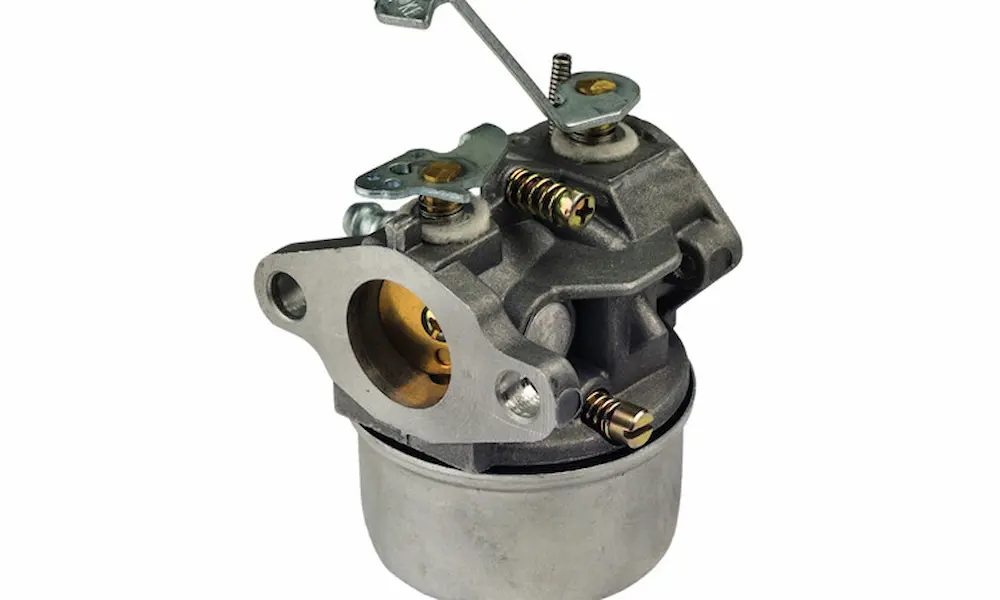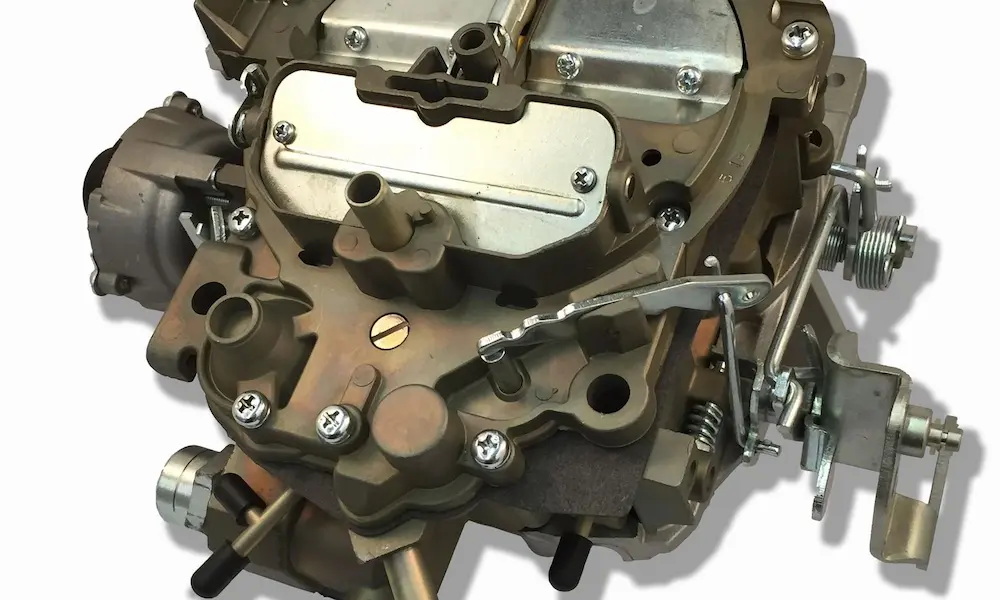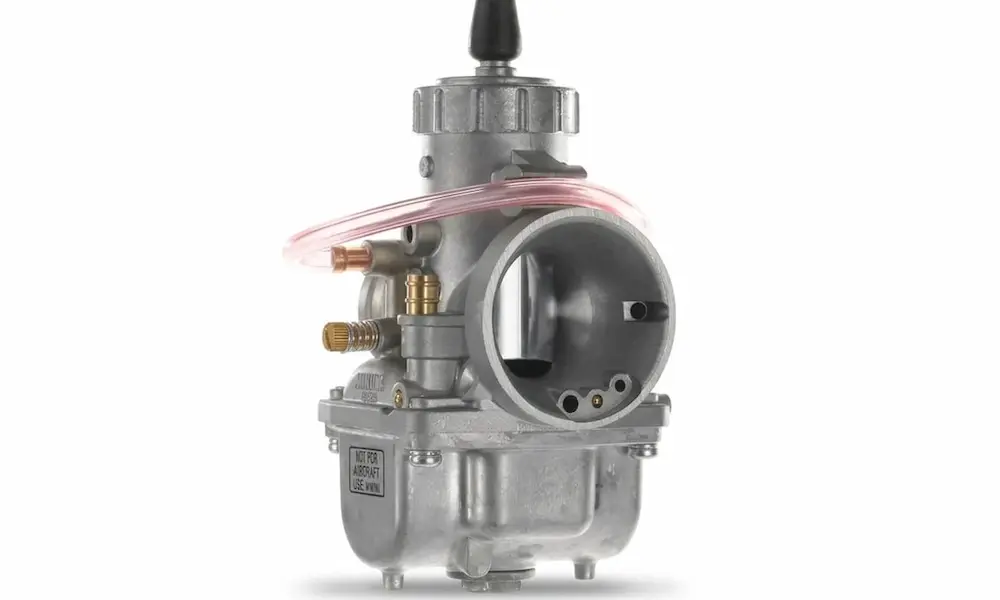
Staring at a Tecumseh carburetor and having no idea what you’re looking at? You’re about to fix that. This guide walks you through every step of Tecumseh carburetor identification — from engine tags to stamped body codes to carburetor series differences. Read to the end, and you’ll know exactly what part you need before you spend a dime.
Why Tecumseh Carburetor Identification Trips People Up
Two carburetors can look completely identical on the outside and be totally incompatible inside.
That’s not an exaggeration. Minor variations in jet sizes, fuel passages, choke linkages, and throttle shaft orientation mean a visually “matching” carb can leave your engine running lean, flooding, or not starting at all.
So skip the guessing game. The right approach starts with your engine numbers — not the carburetor itself.
Step 1: Find Your Engine Model, Spec, and Serial Numbers
Your engine carries three key numbers: model, spec (or type), and serial. These live on either a printed decal or a metal stamping on the blower housing shroud.
Here’s where to look, depending on your engine’s age:
- Post-2004 engines: Look for a standardized label on the side of the blower housing opposite the electric starter
- Older engines: Numbers are stamped near the spark plug, above the muffler, or under the recoil starter assembly
- Electric starter with a top-mounted button box: Unscrew and remove that box — the ID numbers hide underneath it
Rust and grime often obscure the stamped characters. A quick pass with a wire brush or emery cloth makes them readable again.
Decoding the Serial Number Date Code
The serial number tells you when your engine was built — and that matters for carburetor compatibility.
- Pre-2004 engines: The first digit indicates the year within a decade. A leading “6” means 1986 or 1996. You’ll need to estimate the decade based on the engine’s overall appearance
- Post-2004 engines: Tecumseh switched to a 10-character alphanumeric system. The first two digits give you the exact year; the next three represent the Julian day
Craftsman / Sears Engines: The Hidden Cross-Reference
If your engine powers a Craftsman machine, it won’t carry a standard Tecumseh model number. Instead, Sears used a source code prefix starting with “143.”
For example, a Craftsman engine labeled 143.786072 maps directly to a Tecumseh HM100 or HMSK100 series engine. That engine uses carburetor part number 632370 (superseded by 632370A) and rebuild kit 632347.
This cross-reference step is essential. Without it, you’re searching for a part that doesn’t exist under the number on your machine.
Step 2: Read the Carburetor’s Own Stamped Code
When the engine shroud is missing, damaged, or unreadable, go straight to the carburetor body itself.
Tecumseh carburetors carry stamped or laser-engraved codes directly on the metal. Here’s where to find them:
Primary location: The underside of the carburetor mounting flange — the flat surface that mates to the intake pipe. Remove the air filter housing, then look upward from behind the choke lever. You’ll likely need a flashlight and a mirror.
Secondary location: Machined bosses or raw metal vertical surfaces beside the throttle or choke linkages on the main body.
Some carburetors carry a short 3- or 4-digit manufacturing code (like “516,” “1082,” or “1109”) that maps to a full 6-digit Tecumseh part number. For instance, a stamp reading “1082” corresponds to carburetor part 632256.
Important: Casting numbers on the intake pipe (like “51 0121”) do NOT cross-reference to carburetor part numbers. Don’t confuse these.
Third-Party Carburetors on Tecumseh Engines
Some Tecumseh engines left the factory with carburetors made by other brands. Here’s how to spot them:
- Walbro (WT, WHG, LMK series): Look for an alphanumeric code like “WT-160B” stamped on the outer body alongside the cast Walbro brand name. Identification follows Walbro’s own protocol
- Tillotson (HU series): Stamping codes appear on the mounting flange or body edges
- Chinese aftermarket replacements: These lack stamped part numbers entirely. You’ll need to compare linkage positions and throat spacing visually
Step 3: Know Your Tecumseh Carburetor Series
Once you have your part number, it helps to understand which carburetor series you’re dealing with. Each series has unique physical traits, service requirements, and failure points.
Dual System Carburetors
These serve four-cycle vertical-shaft rotary lawnmower engines. The dead giveaway is a large primer bulb mounted directly on the carburetor body’s side.
There are no adjustable mixture needles — fixed, non-adjustable jets handle everything to meet emission standards.
Series 1 and Series 2 Carburetors
Series 1 carburetors work on both two-cycle and four-cycle engines from 2 to 7 HP. They have a small venturi tube and no cast metal bosses on either side of the idle mixture screw. Some have fully adjustable high-speed and idle screws; others use a fixed main jet.
Series 2 carburetors are built for marine outboard engines. They look similar to Series 1 but include a built-in pulse-driven diaphragm fuel pump powered by crankcase pressure pulsations.
Series 3 and Series 4 Carburetors
These larger units handle 8 to 12.5 HP engines. They feature a bigger venturi bore and heavy cast metal bosses on both sides of the idle mixture screw.
To tell them apart:
- Series 3: One screw secures the brass throttle butterfly plate to the throttle shaft
- Series 4: Two screws secure the butterfly plate
That’s the fastest field test — look straight into the throttle bore.
Series 7 and Vector Series Carburetors
These carburetors swap traditional metal bowl construction for a molded plastic float bowl held by a spring-loaded wire bail or metal clasp retainer.
They have a reputation for problems — and it’s earned:
- The plastic bowl warps easily under heat or overtightening, causing fuel and air leaks
- The fuel jets are cast directly into the plastic bowl and can’t be cleared even with ultrasonic cleaning
- Complete bowl kit replacement is often the only fix
Series 11 Carburetors
The Series 11 has a non-serviceable plastic metering jet hidden beneath a metal welch plug inside the fuel well. This is a critical detail: never soak a Series 11 in a carburetor dip tank for more than 30 minutes. Aggressive solvents will dissolve that plastic jet and permanently destroy the carburetor body.
Diaphragm Carburetors
No fuel bowl here. These carburetors use a flexible diaphragm driven by crankcase pressure pulsations to pump and meter fuel. That design lets them run at extreme angles — ideal for chainsaws, trimmers, and brushcutters.
They typically carry high-speed (H) and low-speed (L) adjustment screws, though EPA-compliant models use fixed jets. Some two-cycle diaphragm carbs carry an “L” stamp on the body to flag special internal calibrations.
Tecumseh Carburetor Series Quick Reference
| Carburetor Series | Engine HP Range | Fuel System | Key Visual Feature | Common Applications |
|---|---|---|---|---|
| Dual System | 3.5–5.5 HP | Float, fixed jets | Large side primer bulb | Vertical shaft lawnmowers |
| Series 1 | 2–7 HP | Float, adjustable or fixed | Small venturi, no side bosses | Tillers, edgers, snowblowers |
| Series 2 | 2–7 HP (marine) | Float + pulse pump | Built-in crankcase pump | Outboard marine engines |
| Series 3 | 8–12.5 HP | Float, large venturi | Twin side bosses, single throttle screw | Generators, heavy snowblowers |
| Series 4 | 8–12.5 HP | Float, large venturi | Twin side bosses, dual throttle screws | Heavy-duty lawn tractors |
| Series 7 / Vector | 5–15.5 HP | Float, plastic bowl | Wire bail or clasp bowl retention | Walk-behind vacuums, riding mowers |
| Series 11 | Varies | Float, hidden plastic jet | Bridged body with welch plug | Utility engines |
| Diaphragm | 2–5 HP | Diaphragm, impulse pump | No fuel bowl | Chainsaws, trimmers, brushcutters |
Engine Model to Carburetor Cross-Reference
| Engine Model | Craftsman Prefix | Carburetor Part | Rebuild Kit | Application |
|---|---|---|---|---|
| HS50 (Early) | 143 series | 631914 | 631953 | Snowblowers / Lawnmowers |
| HS50 / HSK50 | 143 series | 640084B | 632107A | Mid-size snowblowers |
| HMSK90 / LH318SA | 143 series | 640349 | 640052 | Heavy-duty snowblowers |
| HM100 / HMSK100 | 143.786072 | 632370A | 632347 | High-output snowblowers |
| OHV125 / OHV130 | — | 640065A | 50-654 | Riding mowers / tractors |
| TVS90 | 143 series | 632795A | 631021B | Walk-behind lawnmowers |
| LEV120 / LV195EA | — | 640174 | 640262A | Walk-behind lawnmowers |
| H50 / H60 | — | 632230 | 632230 | Tillers, chipper shredders |
| HH70 | — | 632114 | 632114 | Cast iron utility engines |
Ethanol and Material Changes: Why the Suffix on Your Part Number Matters
Older Tecumseh carburetors weren’t built for today’s ethanol-blend fuels. Models like the 632334A series used uncoated nylon-tipped float needles and rubber-foam composite gaskets. Ethanol draws moisture, which causes those materials to swell, harden, crack, stick, and eventually flood your engine.
Later production runs fixed this. Models like the 632111 and 632111D introduced:
- Bronze-plated brass float pins
- Viton synthetic rubber needle tips and gaskets
- Laser-sealed casting joints to stop porous fuel weeping
Viton holds up under prolonged exposure to oxygenated fuel blends — it’s the material difference that separates a carb that needs rebuilding every season from one that doesn’t.
If you’re ordering a replacement, check the suffix. A newer suffix means updated materials.
Critical Assembly Details That Cause Most Rebuild Failures
Getting the part number right is only half the job. These four assembly points cause the majority of post-rebuild failures:
Float height: Invert the carb, remove the bowl gasket, then measure from the flat casting surface to the top of the float. The correct clearance is 0.200 to 0.220 inches (5.1–5.6 mm). An 11/64-inch drill bit works as a physical gauge. Bend the metal hinge tab to adjust.
Float needle wire clip direction: The open end of the wire clip must face the air intake (air filter) side of the carburetor, not the cylinder side. Installing it backward causes the needle to bind off-center — and your carb floods every time.
Viton seat orientation: The seat has one flat side and one raised, rounded lip. Press it in with the flat side facing down. The rounded side faces up to contact the needle tip. Install it upside down and fuel bypasses the needle seal entirely.
Fuel bowl center hole size: Tecumseh used two bowl configurations:
- 21/64-inch center hole (Part 631867) — snowblowers and cold-weather equipment
- 25/64-inch center hole (Part 631700) — rotary lawnmowers and larger utility engines
Mixing these up either ruptures the bowl or fails to seal. Use the correct drill bit as a gauge before you order.
Diagnosing Carburetor Problems Before You Pull It
Before you remove anything, run through these three checks:
- Fuel quality — Old fuel forms varnish that clogs the idle circuit jets. If the fuel’s been sitting more than 30 days without stabilizer, drain it
- Spark delivery — Pull the plug and check the gap, reach, and electrode condition. Use an inline spark tester to confirm a strong spark
- Compression — Pull the starter rope slowly by hand. You should feel clear, heavy resistance on the compression stroke. No resistance means a mechanical issue no carburetor rebuild will fix
If those three check out and the spark plug is bone dry after multiple pull attempts, you’ve confirmed fuel starvation. If the plug is soaked in fuel and you smell gas, you’ve confirmed carburetor flooding.
Common Symptoms and Their Causes
| Symptom | Root Cause | Specific Component | Fix |
|---|---|---|---|
| Hard start, dry spark plug | Restricted fuel flow | Clogged inlet screen or gas cap vent | Clean tank screen, clear cap vent |
| Surging at governed speed | Lean mixture or vacuum leak | Partially clogged jets or damaged gasket | Clear jets, replace mounting gaskets |
| Continuous fuel overflow | Float needle not sealing | Stuck float, backward needle clip, worn seat | Reorient clip, replace Viton seat |
| Starts then dies instantly | No bowl replenishment | Clogged center hole in bowl bolt | Clear the center and side holes of the bolt |
| Runs rich, heavy fuel odor | Wrong jetting for altitude | Sea-level jets above 4,000 feet | Install high-altitude fixed jet kit |
One more thing worth knowing: Tecumseh fuel tanks use a molded-in 75-micron stainless steel screen over the fuel outlet port. It rarely clogs, but a deteriorated fuel line, a blocked inline filter, or a non-venting gas cap can starve the bowl just as effectively. Always check the entire fuel path, not just the carb.
When you clean a disassembled carburetor, remove every non-metallic part first — O-rings, Viton seats, plastic nozzles, and welch plugs all get destroyed by commercial carb dip. Clear the passageways with designated cleaning wires or micro-drill bits, and don’t enlarge the brass jets. Reassemble with new gaskets, a fresh needle and seat, and a correctly set float height, and your engine will start reliably and hold a steady governed speed.