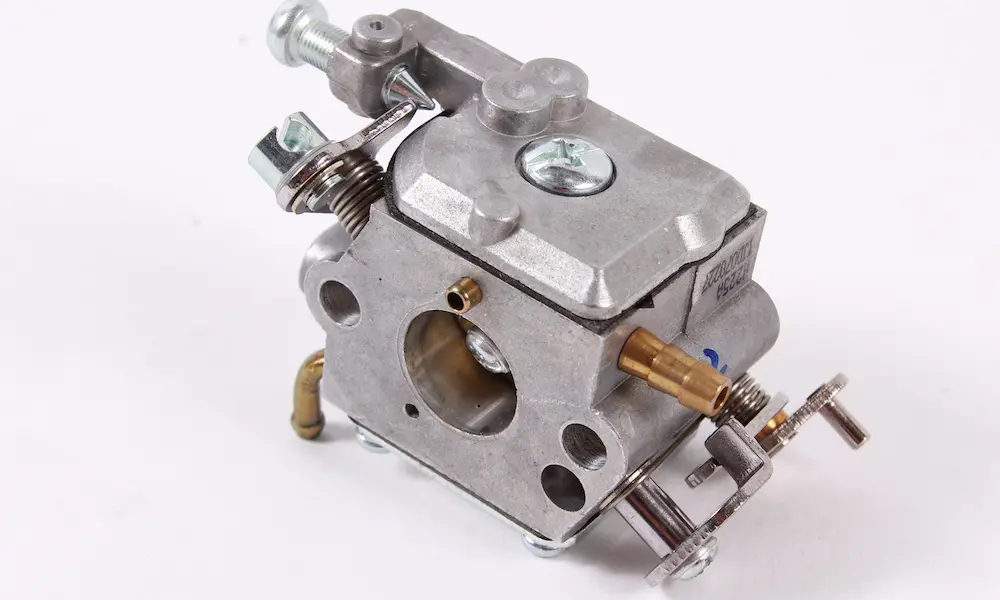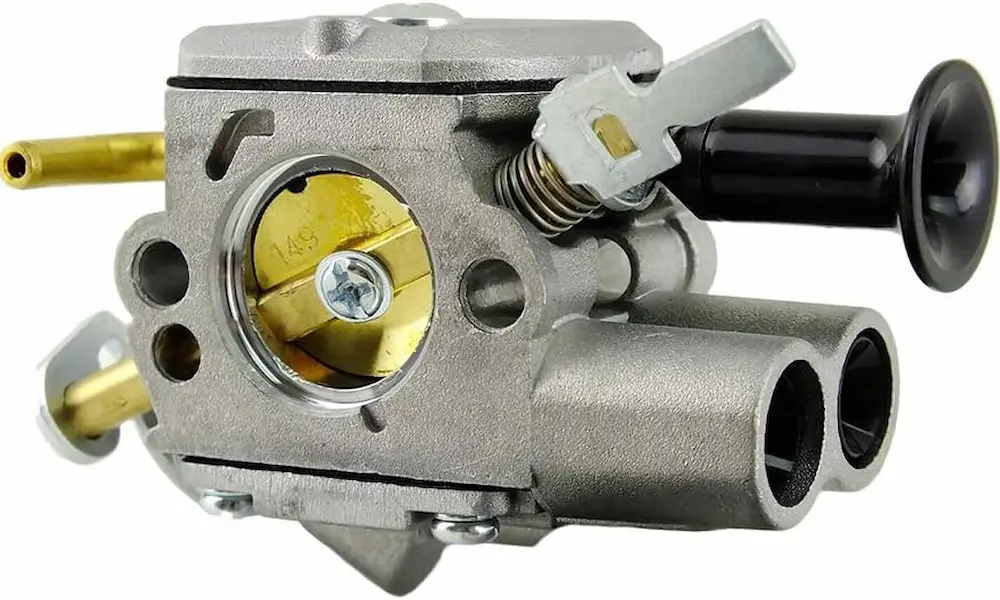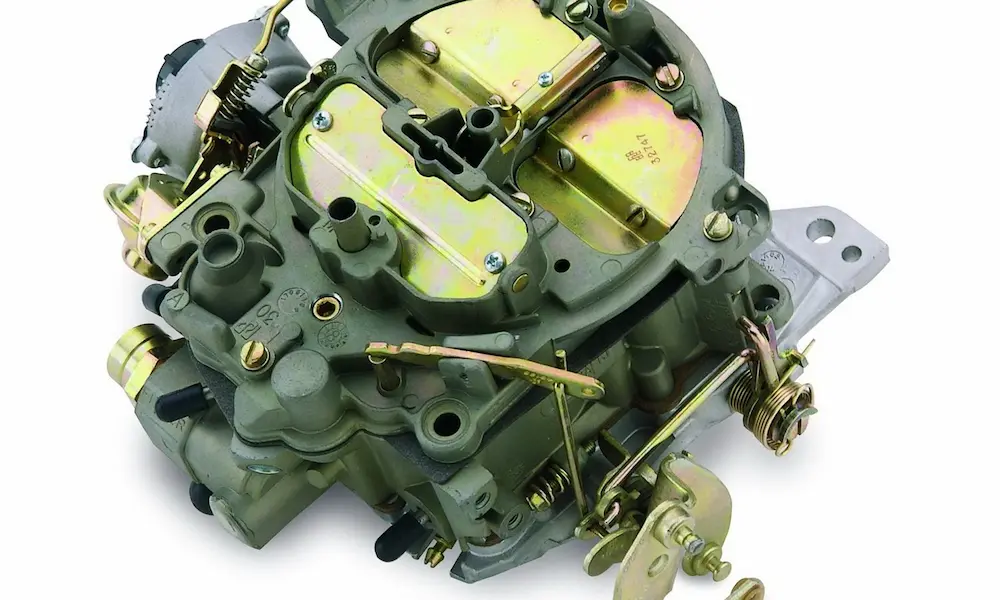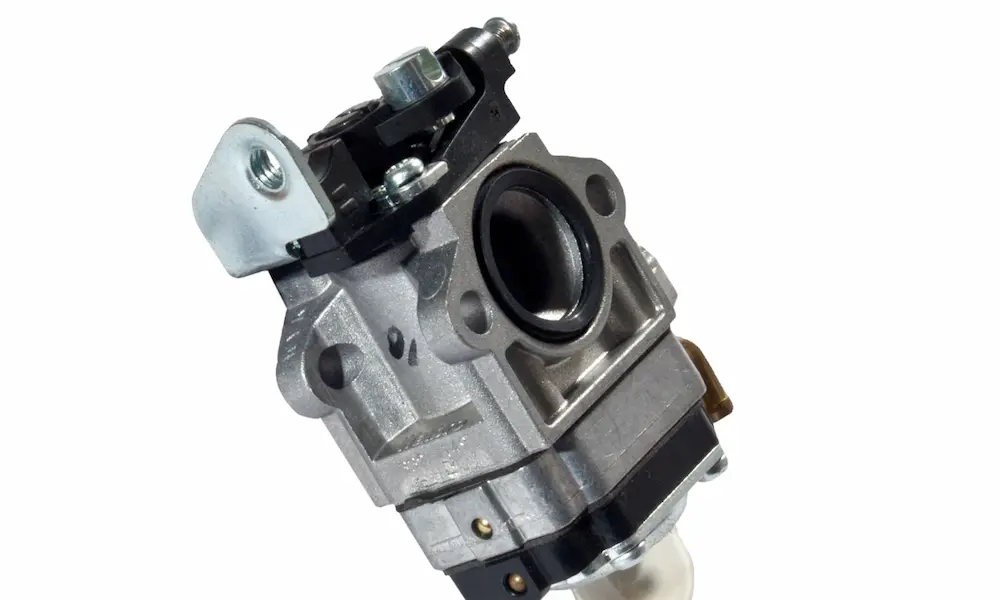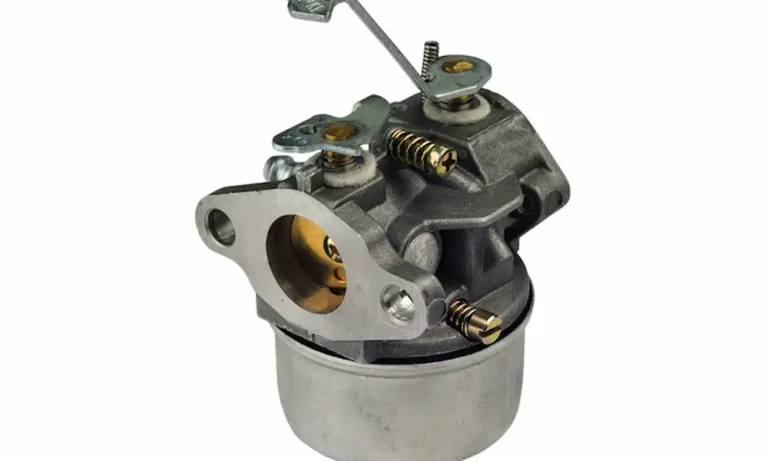
Got a Tecumseh engine sputtering, flooding, or refusing to start? A bad carburetor is usually the culprit. This guide walks you through everything — finding the right part, installing it correctly, and tuning it up. Stick around, because the details here can save you from expensive mistakes.
Why Tecumseh Carburetor Replacement Gets Tricky
Tecumseh Power stopped manufacturing engines years ago. But millions of these engines still run lawnmowers, snowblowers, tillers, and generators across the country. That means you’re shopping from remaining OEM stockpiles or aftermarket suppliers like Stens, Oregon, and Hipa.
Here’s the catch: ordering by the carburetor’s stamped number alone can get you the wrong part. Part numbers change through supersessions, and a mismatch in linkage configuration or intake design will cause headaches. Start with the engine’s model and spec numbers instead — every time.
How to Find Your Engine’s Model Number
Your engine’s product identification label has everything you need. The label location changes depending on what machine you’re working on.
Use this table to find yours fast:
| Equipment Type | Label Location | Engine Model Prefix |
|---|---|---|
| Push Mowers | Rear left of the cutting deck | Starts with 11 or 12 |
| Riding Mowers | Underside of the seat pan | Starts with 13, 14, or 17 |
| Rototillers | Surface of the tine housing | Starts with 21 |
| Two-Stage Snow Blowers | Rear of the metal frame cover, between wheels | Starts with 31 |
| Single-Stage Snow Blowers | Right side of the main frame | Starts with 31 |
| Handheld Tools | Side of the recoil starter housing | Starts with 41 or 42 |
| Chippers & Shredders | Front, rear, or frame of the chassis | Starts with 24 |
| Lawn Edgers | Rear section of the metal frame | Starts with 25 |
Once you have the model and spec numbers, cross-reference them at a parts supplier like Genuine Factory Parts to confirm you’re getting the right match.
Tecumseh Carburetor Series: Which One Do You Have?
Tecumseh built several distinct carburetor families over the years. Knowing which series you have tells you whether a rebuild makes sense or whether a full replacement is smarter.
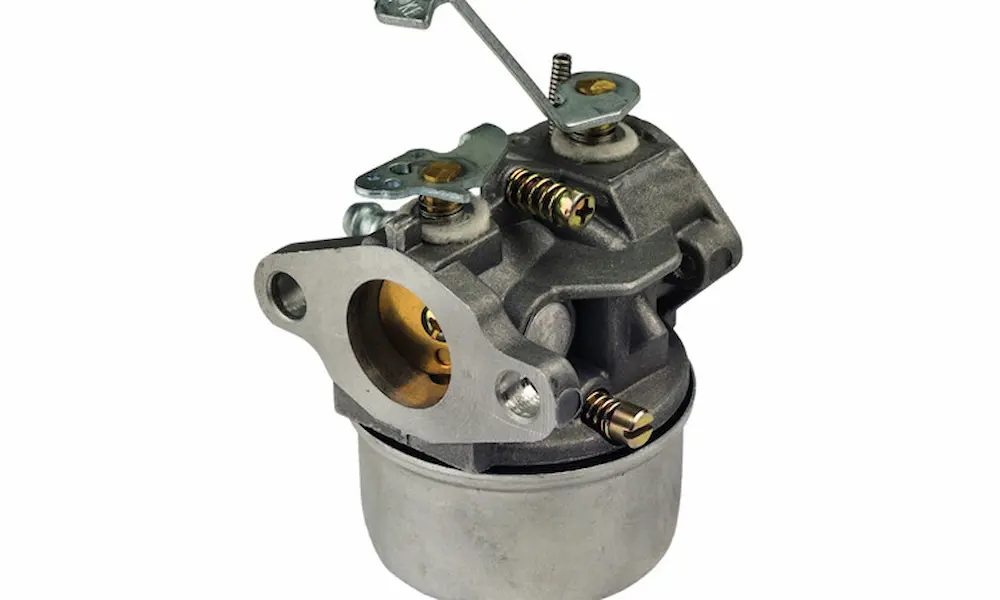
- Dual System Carburetors: Common on vertical shaft push mowers. You’ll spot them by the large soft primer bulb on the side. No adjustable mixture needles — they use fixed factory-calibrated jets.
- Series 1 Carburetors: The most versatile. They fit horizontal and vertical engines from 2 to 7 horsepower. Available in adjustable and fixed-jet versions.
- Series 2 Carburetors: Built for marine outboard engines. Similar to Series 1 but adds a built-in diaphragm fuel pump and an external idle screw.
- Vector Series Carburetors: Found on small vertical shaft mowers. Plastic body, red primer bulb, and an internal plastic emulsion tube sealed with dual rubber o-rings. These are highly sensitive to dirt and ethanol damage.
- Series 11 Carburetors: Designed for big overhead valve engines from 11 to 15 horsepower. Features a 22mm venturi and 52mm mounting distance — built for lawn tractors and commercial equipment. A good aftermarket match is the Hipa 640065A for OHV engines.
One Smart Upgrade Worth Knowing
If your engine uses the primer-bulb-style 640025C carburetor, consider replacing it with the Tecumseh 640346 manual choke upgrade. It eliminates the primer bulb entirely, which means no more cracked, dry-rotted rubber causing cold-start failures.
Also worth noting: the Stens 520-914 fits H50 and H60 engines nicely, but you’ll need to buy the 485-748 mounting gasket separately. And skip this one if your fuel contains more than 10% ethanol.
Step-by-Step Tecumseh Carburetor Replacement
Before you touch anything, let the engine cool completely. Disconnect the spark plug wire and clip it to a grounded metal point so the engine can’t fire accidentally. Drain the fuel tank into an approved container outdoors.
Removal Sequence
Follow this order and you’ll avoid bending the governor linkages — which is the most common costly mistake in a Tecumseh carburetor replacement:
- Pull off the choke knob, then remove the engine shroud fasteners.
- Loosen the key switch screw, disconnect the ignition wires, and remove the shroud bracket.
- Disconnect the rubber primer line from the carburetor body.
- Slide the spring-type fuel line clamp back, then gently work the fuel line off the inlet fitting with a flathead screwdriver.
- Lift the carburetor off its mounting studs. Tilt it upward so the throttle and governor linkage rods slide out of their holes cleanly.
- Don’t twist or yank those rods. Bending them shifts governor calibration and causes runaway speed or power loss.
- If the new carburetor doesn’t include a choke shutter or bracket, transfer those parts from the old unit.
Linkage and Gasket Alignment
Getting the throttle linkage into the correct hole matters more than most people realize. On standard configurations, the solid governor rod connects to the hole furthest toward the front of the carburetor. If your engine uses a governor assist spring, hook it into the lower hole of the external governor arm, then connect it to the metal tab at the front of the carburetor body. The spring sits underneath the main throttle rod — not wrapped around it.
Gasket alignment is equally critical. A misaligned gasket blocks the pulse port on engines with an internal diaphragm fuel pump, which starves the engine and causes lean running or stalling.
Here’s a reliable trick for aligning a pulse-port gasket correctly:
- Put two tiny dots of RTV silicone near the stud holes to hold the gasket in position.
- Slide the gasket onto the intake studs.
- Push a 7/64-inch drill bit through the gasket’s pulse port hole and into the matching port on the engine block.
- Press the gasket firmly, remove the drill bit, and immediately install the carburetor. Torque the nuts down right away.
On snowblowers, there’s no air filter. Make sure the gasket between the carburetor and the air deflector heater box seals properly — a gap here lets snow and water into the intake tract, which can freeze the throttle plate or dilute the engine oil.
Carburetor Calibration and Float Setup
A new carburetor still needs proper calibration before it’ll run right. Don’t skip this section.
Float and Needle Seat Installation
- Shake the metal float. Hear liquid sloshing inside? The float has a pinhole leak and needs replacement.
- The rubber inlet needle seat has one smooth side and one ridged side. Install it smooth-side up — the ridged side presses into the bore recess. Install it backwards and the carburetor floods immediately.
- Slide the wire clip onto the needle’s shoulder and hook it to the float tab. The open end of the clip must point toward the air filter side of the carburetor. Point it toward the engine and the needle binds, causing leaks.
- Flip the carburetor body upside down so the float rests on the needle. Use an 11/64-inch drill bit to check the gap between the float’s outer edge and the gasket mating surface. Bend the float tab gently until it sits level at that height.
Dual-Needle Adjustment Procedure
For adjustable Tecumseh carburetors, use this structured three-step calibration process:
Step 1 — Set Baselines: Before starting the engine, turn both the main mixture screw (on the bowl nut bottom) and the idle mixture screw (on the carburetor side) clockwise until they’re lightly seated. Don’t force them — you’ll ruin the needle tips and brass seats. Back both screws out 1 to 1.5 turns counterclockwise. Turn the idle speed screw clockwise 1 to 2 turns past where it first contacts the throttle plate.
Step 2 — High-Speed Adjustment: Start the engine and let it warm up for 3 to 5 minutes. Move the throttle to maximum speed. Turn the main mixture screw counterclockwise until engine speed drops (too rich), then clockwise until it stumbles (too lean). Set the screw at the midpoint between those two limits.
Step 3 — Low-Speed Adjustment: Move the throttle to idle. Repeat the same process with the side-mounted idle mixture screw. Then adjust the idle speed screw so the engine idles smoothly without stalling. Snap the throttle to full speed — if it hesitates, turn the idle screw counterclockwise by 1/8 of a turn.
Governor Synchronization
The governor keeps engine speed steady under load. After installing a new carburetor, sync it properly:
- Engine off, spark plug wire disconnected.
- Loosen the clamp screw on the external governor arm.
- Push the throttle linkage to the wide-open position manually.
- While holding it there, rotate the governor shaft to its limit — counterclockwise on vertical crankshaft engines, clockwise on horizontal.
- Tighten the clamp screw while holding both components at their limits.
Use a laser tachometer to verify max RPM after startup. Most Tecumseh engines target 3,500 RPM. Too low and your equipment underperforms. Too high and you’re looking at a broken connecting rod.
Diagnosing Problems After Replacement
Still not running right after your Tecumseh carburetor replacement? Use this matrix:
| Symptom | Likely Carburetor Cause | Likely Governor Cause | Fix |
|---|---|---|---|
| Engine Surging | Clogged main nozzle or air leak at flange | Loose governor arm or worn spring | Clean jet passages to bare brass; replace flange gaskets |
| Flooding / Fuel Leaking | Blocked vent hole; backwards needle seat or clip | Water in fuel raising bowl level | Clear the vent hole; verify seat orientation |
| Won’t Start (Dry Plug) | Clogged passages; stuck inlet needle | Governor linkage binding | Tap the bowl gently to free a stuck needle; rebuild or replace |
The Internal Metering Pin Problem
Older adjustable Tecumseh carburetors use a loose metal pin inside the idle fuel passage instead of a tiny drilled hole. Over time, this pin rusts and seizes — especially if you’ve overtightened the idle screw and crushed it in place.
Pick up the carburetor and shake it. Hear a rattle? The pin’s free and healthy. No rattle? The pin is stuck, and no amount of cleaning will fix the lean surge. You need a new carburetor body.
The Hidden Vent Hole Issue
There’s a tiny vent hole in the carburetor body — almost invisible, located directly across from the welch plug. It keeps atmospheric pressure balanced inside the fuel bowl. Block it with dirt or paint, and expanding air inside the warm bowl forces fuel up through the main nozzle and right out the air intake. That’ll flood a newly rebuilt carburetor fast.
Check this hole on every service. Clear it with a 0.013 to 0.015-inch wire or micro drill bit — never a standard metal drill bit that could enlarge it.
Fuel Quality and Storage Rules
Ethanol Is the Enemy
Most aftermarket replacement carburetors — including those from Stens and Hipa — aren’t compatible with fuel containing more than 10% ethanol. Ethanol pulls moisture from the air. That water settles into the fuel bowl, raises the liquid level, and causes flooding or hard starting.
Worse, ethanol corrodes brass jets, attacks aluminum castings, and swells rubber inlet seats and plastic o-rings. Use fresh, clean regular unleaded gas. For seasonal equipment, non-ethanol fuel is worth the extra cost.
Off-Season Storage
Gasoline can form varnish deposits in less than 30 days. Before storing any Tecumseh-powered equipment, choose one of these two methods:
- Drain everything. Empty the fuel tank, start the engine, and let it run at idle until it dies from fuel starvation.
- Add stabilizer. Fill the tank with fresh gas and mix in a fuel stabilizer like Tecumseh Power Ultra-Fresh at the recommended ratio. Run the engine for at least 10 minutes so stabilized fuel reaches every passage.
What Never to Do During a Rebuild
These mistakes will trash a carburetor fast:
- Don’t use metal drill bits to clear jets. They enlarge precision passages and permanently wreck fuel-air calibration. Use copper wire or torch tip cleaners instead.
- Don’t soak the carburetor longer than 30 minutes in harsh chemical cleaners. It damages plastic parts and strips protective coatings from aluminum castings.
- Always replace shutter screws. Use new Torx 8 screws (part number 650506). These come with a dry adhesive that locks them in place. Reused screws back out, get sucked into the cylinder, and destroy the engine.
- Never swap bowl nuts between carburetors. Each bowl nut has a metering orifice calibrated to a specific engine. Swapping them throws off fuel delivery entirely.