Staring at a stamped code on a small carburetor body and wondering what it means? You’re in the right place. This guide breaks down Tillotson carburetor identification codes, series classifications, rebuild specs, and application cross-references — all in one place. Stick around to the end, because the tables alone could save you hours of guesswork.
Why Tillotson Carburetor Identification Matters More Than You Think
Here’s the thing about Tillotson carburetors — you can’t just match them to the equipment model and call it done.
Original equipment manufacturers routinely requested custom carburetor variations from Tillotson to fit specific engine shrouds, linkage geometries, and emissions requirements. One chainsaw model might use three or four different carburetor variants. Install the wrong one, and your throttle linkage binds, your fuel line won’t reach the inlet nipple, or your adjustment needles hide behind a wall of engine shroud.
Proper Tillotson carburetor identification depends entirely on the alphanumeric code roll-stamped directly into the carburetor body during manufacturing. That stamp is the only reliable source of truth.
How the Tillotson Identification Code Works
The Tillotson coding system is logical once you understand its structure.
Every code follows this pattern:
- Series prefix (HU, HS, HL, HR, HD, or HW) — identifies the physical body casting and baseline venturi platform
- Numerical sequence — identifies the specific application package, jetting configuration, and throttle shaft layout
- Suffix letter (A, B, C, F, etc.) — designates physical revisions, part updates, or accessory changes
So a code like HU-40D tells you: HU series body, application package 40, fourth physical revision.
This is different from older systems like the Carter “S” suffix, where letters simply tracked engineering changes. In the Tillotson system, every digit and suffix letter maps to a unique combination of internal jets, linkages, and physical configurations. Two carburetors that look identical on the outside can have completely different fuel metering profiles based on their codes.
Where to Find the Identification Stamp on Each Series
The stamp location varies by series due to body geometry and space constraints. Here’s exactly where to look on each one.
HU Series
Inspect the face of the air filter mounting side. The model number (like “40D”) appears as a regular engraving on that face. The “HU” prefix is cast inside one of the small circular recesses on the same side.
HS Series
The model number (like “225A”) is stamped on the side of the main body opposite the mixture adjustment needles, near the throttle and choke linkages. Note: the “HS” prefix is frequently omitted from the casting itself.
HL Series
The model designation (like “HL-231” or “HL-334AB”) is stamped directly into the side of the mounting flange — the flat metal ear where the carburetor bolts to the intake manifold.
HR and HD Series
Both series feature their designations stamped on the outer edge of the body mounting flange. Look for codes like “HR-79B” or “HD-29A” along that outer edge.
HW Series
These racing carburetors have their designations stamped on the lower section of the carburetor body casing. For spec-racing classes, a secondary validation stamp from the engine manufacturer (such as “IAME”) may also appear.
Table 1: Physical Stamping Locations by Tillotson Series
| Carburetor Series | Primary Stamping Location | Secondary Markings |
|---|---|---|
| HU | Air filter mounting face | “HU” prefix cast inside a small circular recess on the same face |
| HS | Side of body casting opposite mixture needles | Located near throttle/choke linkages; “HS” often omitted |
| HL | Outer side edge of the mounting flange | Common on vintage kart and industrial equipment |
| HR | Outer edge of the machined mounting flange | Medium-displacement utility and snowmobile engines |
| HD | Outer edge of the machined mounting flange | Heavy-duty utility and vintage snowmobile applications |
| HW | Lower section of the main body casing | May include spec-racing validation stamps (e.g., IAME) |
Tillotson Series Classifications: What Each One Is Built For
HU and HS Series — Compact Handheld Tools
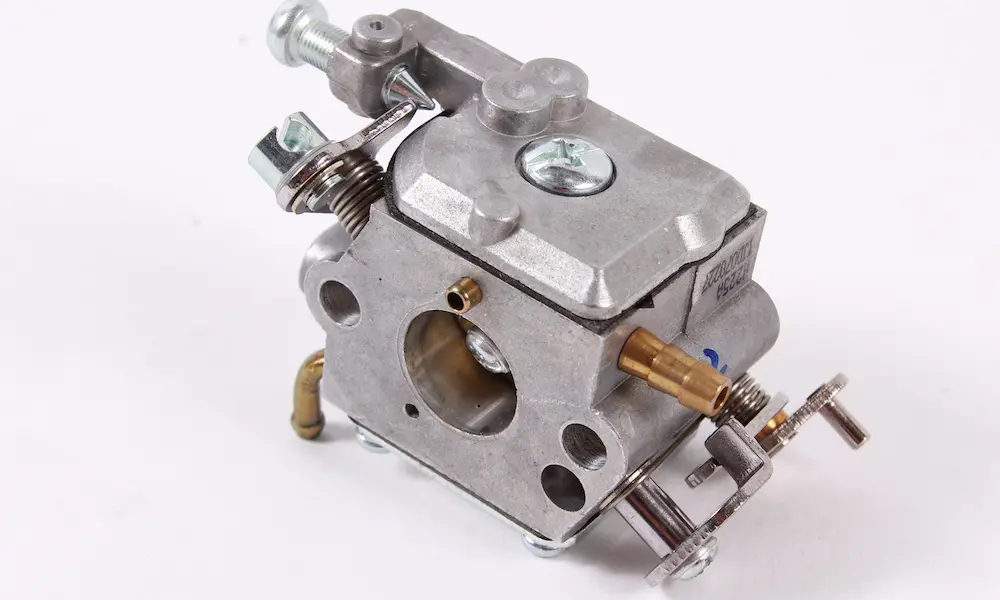
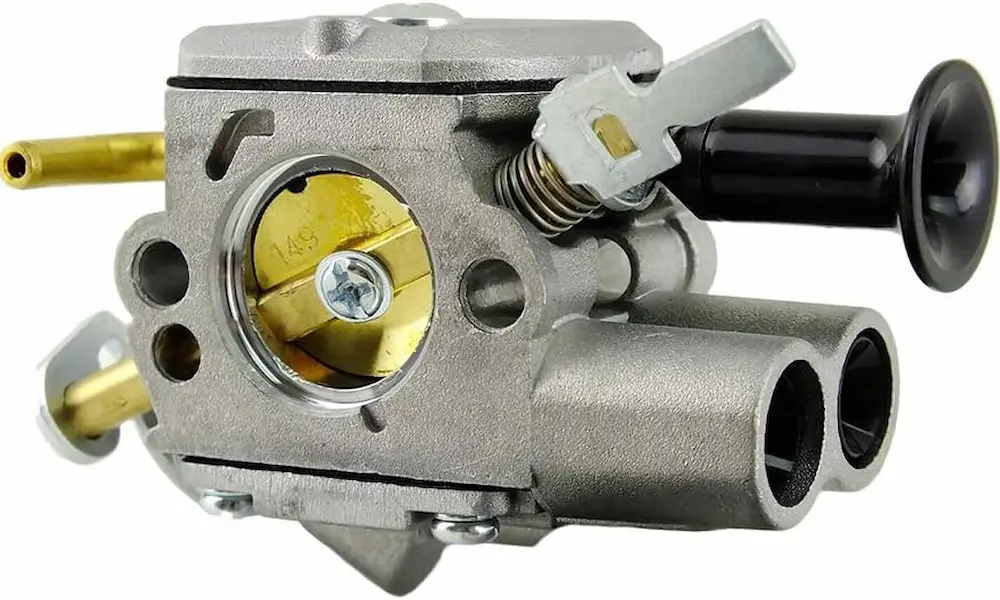
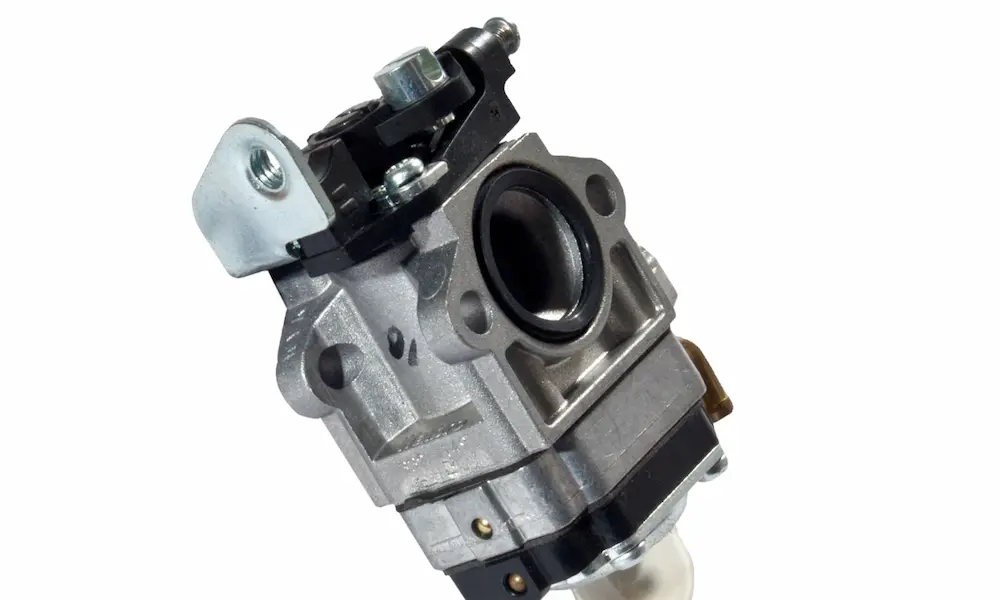
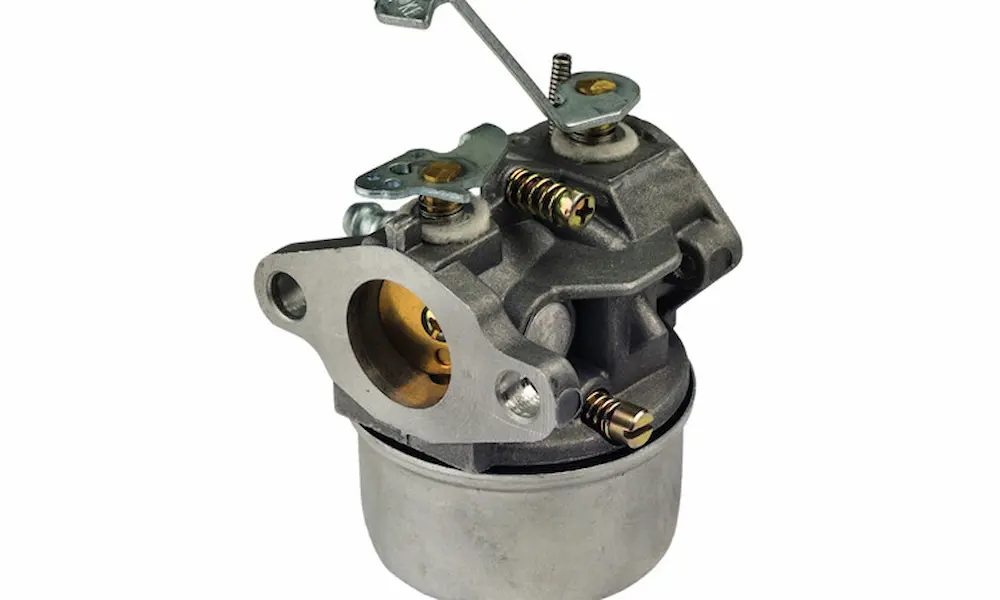
The HU and HS series are the smallest carburetors in the Tillotson lineup. Die-cast aluminum construction keeps weight down on chainsaws, trimmers, and concrete saws. Despite the compact 1.5-inch cube geometry, they house a complete fuel pump, fuel strainer, and metering diaphragm system. The HU uses 5/16-inch and 3/8-inch bores; the HS uses a 9/16-inch (14.3 mm) bore.
HL Series — Versatile Mid-Range Platform
The HL series is a highly adaptable diaphragm platform. It can be configured with single- or double-pumper diaphragms depending on the engine’s fuel volume requirements. You’ll find HL carburetors on vintage chainsaws, early industrial equipment, and kart racing classes. Specialized racing variants like the HL-360, HL-355, and HL-304 were developed specifically for American dirt track and kart circuit applications.
HR Series — Medium-Displacement Engines
The HR series handles engine displacements from 12 to 25 cubic inches per cylinder. It uses a dual-venturi system that multiplies the pressure drop to atomize fuel into a fine combustible fog rather than a raw liquid stream. This improves combustion efficiency and power output significantly compared to single-venturi designs.
HD Series — Heavy-Duty Large Displacement
The HD series scales up for engines from 20 to 40 cubic inches per cylinder. It pairs the dual-venturi system with an automatic, pressure-sensitive power valve that dampens fuel level fluctuations caused by heavy engine vibration. A notable application: Harley-Davidson Sportster motorcycles used HD carburetors equipped with built-in mechanical accelerator pumps to prevent hesitation during rapid throttle transitions.
HW Series — High-Performance Racing
The HW series is Tillotson’s modern racing-specific diaphragm carburetor. It uses a precision butterfly valve instead of a traditional slide valve. Venturi sizes range from 20 mm to 27 mm, and the refined internal passage design allows technicians to downsize the venturi diameter by 2 to 6 mm compared to an older HL on the same engine. That smaller venturi increases air velocity at low RPM for stronger bottom-end torque, while the aerodynamic efficiency of the butterfly valve maintains high-speed airflow for equal or better top-end power. HW units are tuned for IAME X30, KA100, and OK-N spec racing classes.
Vintage Series — AJ, KA, and MD
These are float-style carburetors from Tillotson’s early product history.
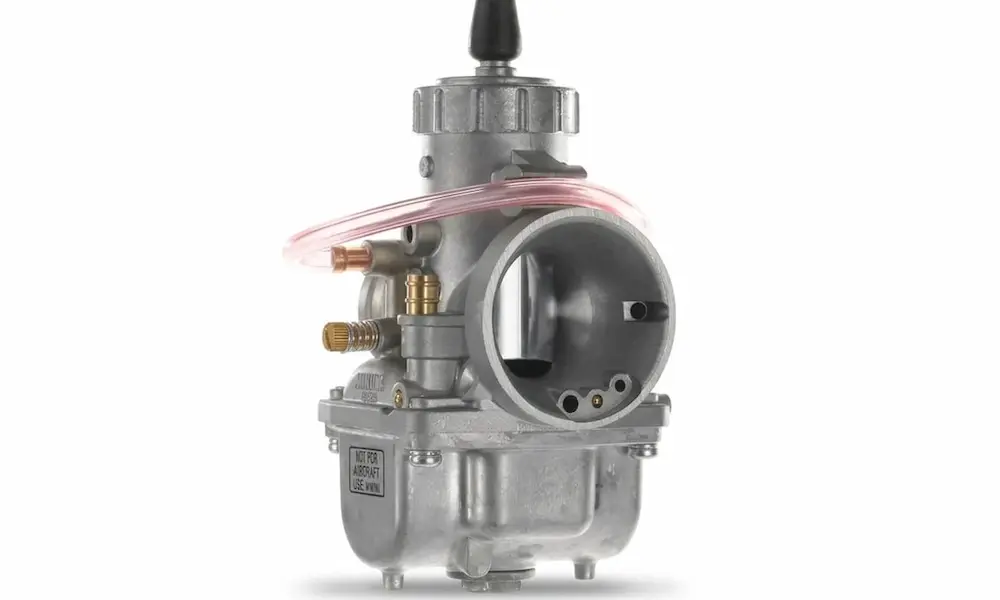
- AJ Series: Designed for vintage marine and utility engines. Features a unique skeleton-type throttle valve that permits a fixed, non-adjustable idle airflow. Don’t attempt to alter the fixed-idle airflow casting.
- KA Series: Uses a primary and secondary lever mechanism to regulate float and needle clearance. Requires precise measurement during rebuild — needle clearance must be exactly 0.040 inches.
- MD Series: Specialized cast body for vintage marine outboards, including classic Mercury outboard engines.
Common U.S. Equipment Application Cross-Reference
This table matches popular U.S. power equipment to their factory Tillotson carburetors and the correct rebuild kits.
Table 2: U.S. Power Equipment Application Cross-Reference
| Equipment Model | Engine Type | Carburetor Model | Rebuild Kit (RK) | Diaphragm/Gasket Kit (DG) |
|---|---|---|---|---|
| Stihl 020AVPSEQ | Handheld Chainsaw | HU-7A | RK-14HU | DG-2HU |
| Stihl 028AVEQ | Handheld Chainsaw | HU-40D | RK-14HU | DG-2HU |
| Stihl 031AV / 030AV | Mid-Size Chainsaw | HU-3G | RK-14HU | DG-2HU |
| Stihl 041AVS | Heavy Chainsaw | HS-138B | RK-21HS | DG-3HS |
| Stihl 045AV / 056AV | Heavy Chainsaw | HS-118B | RK-21HS | DG-3HS |
| Stihl 08 | Utility Chainsaw | HL-166C | RK-114HL | DG-5HL |
| Homelite C5 / C91 | Heavy Logging Chainsaw | HL-141E | 615-005 (Stens) | 615-013 (Stens) |
| Homelite XL-12 | Consumer/Pro Chainsaw | HS-179B | 615-104 (Stens) | 615-013 (Stens) |
| Husqvarna 272 | Professional Chainsaw | HS-260A | 615-104 (Stens) | 615-013 (Stens) |
| Husqvarna PM 370 | Utility Chainsaw | HU-57B | 615-112 (Stens) | 615-021 (Stens) |
| Dolmar 110 | Utility Chainsaw | HU-64D | 615-112 (Stens) | 615-021 (Stens) |
| Dolmar 120 | Heavy Chainsaw | HS-236E | 615-104 (Stens) | 615-013 (Stens) |
| Echo CS-60 | Logging Chainsaw | HS-25A | 615-104 (Stens) | 615-013 (Stens) |
| Poulan 245 | Utility Chainsaw | HS-59B | 615-104 (Stens) | 615-013 (Stens) |
| Wacker BS500 / BS600 | Soil Compactor Rammer | HS-284F | 615-018 (Stens) | DG-5HS/T |
| Harley Davidson Golf Cart | Two-Cycle Golf Cart | HL-231 | RK-117HL | DG-5HL |
For the complete application catalog, the Tillotson Application Cross-Reference List covers hundreds of additional equipment models.
Calibration Specs You Need Before You Rebuild
Table 3: Technical Calibration Specifications by Series
| Series | Bore / Venturi | Inlet Spring Tension | Lever Height Calibration | Initial Needle Opening |
|---|---|---|---|---|
| HU | 5/16″ and 3/8″ | 37–48 gram options | Flush with casting floor | Low-speed 1 turn, high-speed 1 turn |
| HS | 9/16″ (14.3 mm) | 26–37 gram options | Flush with casting floor | Low-speed 1 turn, high-speed 1 turn |
| HL | Various | 37–48 gram options | Flush with casting floor | Low-speed 1 turn, high-speed 1 turn |
| HR | Up to 1.355″ flange bore | 37–48 gram options | Flush with casting floor | Low-speed 1 turn, high-speed 1 turn |
| HD | Large-bore configurations | 42–48 gram options | Flush with casting floor | Low-speed 1 turn, high-speed 1 turn |
| HW | 20 mm to 27 mm | 26–31 gram options | Pop-off pressure at 80 kPa | Tuned per class spec; baseline 1 turn |
| AJ | Vintage marine | Float-regulated | 7/16″ above bowl cover gasket face | Low-speed 1 turn, high-speed 2 turns |
| KA | Vintage marine/agricultural | Float-regulated | 13/32″ to gasket face; needle clearance 0.040″ | Low-speed 1/2 to 3/4 turn |
How to Rebuild a Tillotson Carburetor the Right Way
Cleaning and Inspection
Complete disassembly is required before any soaking. Remove all rubber gaskets, cork components, and plastic fuel inlets before the metal castings go into commercial solvent — those soft materials will degrade fast in harsh chemicals.
After soaking, clean all internal passages with compressed air only. Never use metal wire, sewing needles, or drill bits to clear idle ports or metering holes. Those tools scratch and enlarge the precision-calibrated orifices, permanently altering the fuel metering profile.
Inspect mixture adjustment screws under magnification. A grooved, bent, or distorted tapered tip from past over-tightening means replacement — not reuse.
The Pulse Port Problem Most Techs Miss
A blocked pulse port is one of the most common causes of fuel pump failure after a rebuild. When installing an HR-series flange gasket (part 16B-241), manually punch out and align the 0.125-inch pulse hole with the engine’s crankcase pulse channel. If that hole is blocked or misaligned, the pressure-vacuum pulse never reaches the pump chamber. The pump won’t move fuel. Period.
Also avoid using gaskets on intake manifolds with notched or eroded pulse ports. Those notches expose raw paper gasket material to liquid fuel, causing the gasket to swell, rot, and eventually block the pulse channel entirely.
Lever Height Calibration
Getting lever height right prevents both flooding and fuel starvation.
- AJ Series: Hold the float bowl cover upside down with the gasket removed. The float operating lever must sit exactly 7/16 of an inch above the gasket surface. Adjust by carefully bending the metal lever arm.
- KA Series: Inverted, the primary lever must measure exactly 13/32 of an inch from the gasket surface. Needle clearance between the unseated inlet needle and the secondary lever must be exactly 0.040 inches. Never force the inlet needle into its resilient seat — distorting the tip causes persistent flooding.
- Diaphragm Series (HL, HS, HR, HD, HW): The fuel inlet control lever must sit completely flush with the floor of the metering chamber casting. Use a Tillotson height gauge to verify alignment, then adjust by carefully bending the metal lever arm.
Pop-Off Pressure Testing
Before the carburetor goes back on an engine, run a pop-off pressure test. Connect a pressure pump and gauge to the fuel inlet nipple. Pump air into the chamber until the inlet needle lifts off its seat and the gauge reading drops suddenly. On high-performance racing units, this should happen near 80 kilopascals (approximately 11.6 psi). After the needle pops open, pressure should drop slightly and hold steady. If pressure continuously bleeds to zero, the inlet needle isn’t sealing and needs replacement.
Precision Tuning: Step by Step
Follow this sequence every time you tune an adjustable Tillotson carburetor:
- Bench settings: With the engine off, gently turn both mixture screws clockwise until they lightly bottom out. Don’t force them. Then back out to starting positions per your series specs from Table 3.
- Low-speed idle calibration: Start the engine with the choke closed and the throttle slightly open. Once it fires, open the choke and let it reach operating temperature. Adjust the low-speed mixture screw for a smooth, steady idle. On equipment with a centrifugal clutch, be careful — set the idle too high and the clutch engages unexpectedly.
- Diagnose the low-speed mixture: Uneven firing and exhaust smoke signals a rich mixture. Backfiring through the intake signals a lean mixture.
- High-speed load calibration: Tune the high-speed screw at wide-open throttle under normal operating load. Turn until the engine hits its highest RPM. Speed drops in both directions — too rich and too lean both cost power.
Service Intervals and U.S. Distribution
Diaphragm service intervals depend on the application:
- Standard utility equipment (chainsaws, cut-off saws, soil compactors): Replace diaphragms and gaskets once per operating season.
- High-performance kart racing: Inspect diaphragms and gaskets after every race weekend. Aggressive racing fuels and high engine speeds accelerate wear on those components fast.
In the U.S., the V.E. Petersen Company in Walbridge, Ohio has historically served as the master warehouse distributor for general, agricultural, and industrial Tillotson products — managing national inventory and parts cross-referencing. On the motorsports side, EC Carburetors in Tennessee became a direct importer and research facility in the 1980s, contributing engineering developments including the “infinite radius venturi” design now standard on high-performance racing diaphragm carburetors. Today, distributors like Target Distributing, Comet Kart Sales, and Italian Motors USA keep calibrated components and rebuild kits available for both vintage machinery and modern kart racers across the country.
Now you’ve got everything you need — the stamp location, the series breakdown, the calibration specs, and the service intervals — to handle Tillotson carburetor identification and rebuilding with confidence.